Preparing storage areas
Before you start accepting goods, you need to prepare storage areas in the warehouse. Each shelf should be marked as a separate place. This is what we will do now!
I have already mentioned earlier that from the moment of acceptance of goods to the warehouse, they must always have their place, i.e. be tied to some storage location. This can be a shelf, a pallet, a container, and even a warehouse worker! The system simply will not allow you to operate goods that do not have a binding location. Therefore, NWMS has quite a few different types of storage locations.
Types of storage locations
Lets look at these types first:
- Shelf storage - a storage place in the form of a regular shelf, usually on a rack. The most common type of storage for oversized goods.
- Pallet storage - one storage place on a pallet rack (usually 1 pallet).
- Sorting shelf - this type is used to sort goods during wave assembly. We will not go into detail for now, we will definitely return to this issue when we consider options for assembling goods.
- Packaging table - a table on which orders are packed (the goods are converted into orders). We will also look at this later.
- Marking table - a place where collected orders are measured and marked with delivery service or marketplace labels.
- Pickup completion location - this type is used when we pick large orders that do not require subsequent packaging (for example, a pallet of goods), in this case the picker immediately picks the order for subsequent shipment without further packaging and labeling. Lets consider this option below.
- Place for canceled orders - if the order picking has already begun, but the order needs to be cancelled and disbanded (for example, the client changed his mind or some goods were not found), the picking can only be completed through this place. It collects unassembled (or canceled) orders so that later the goods can be distributed to their storage locations in a regular manner.
- Containers - a dynamic storage location that can be linked to other storage locations.
- Storekeeper - each warehouse employee for WMS is also a storage location. If he takes a product from the shelf, the product is tied to him until the product is moved to another location or returned to the shelf.
Собственно все! Если что-то на данный момент непонятно, не расстраивайтесь. Мы еще рассмотрим каждый тип далее (и скорее всего ни раз). Сейчас нас интересует только два вида: полочное место и паллетное.
Warehouse addressing
NWMS предлагает довольно много разных типов адресации на складе (избыточно много). Вы можете использовать только те поля, которые нужны именно для вашего склада. Сейчас рассмотрим поля что дает WMS, а потом рассмотрим несколько примеров:
- Room - Indicates the room where the storage area will be located. You can use symbols, but no more than 6.
- Floor - the floor number, if your warehouse is located on several floors or you have a mezzanine.
- Section - section, if the warehouse is divided into several sections.
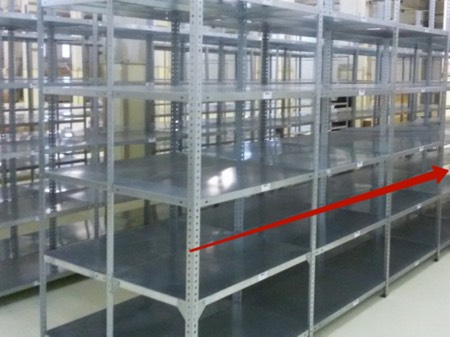
- Row - all racks are usually in rows. All rows are numbered.
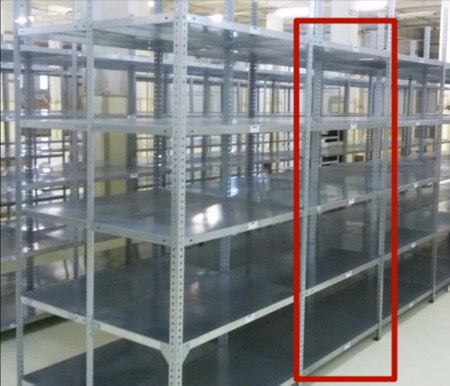
- Shelf - usually all the shelves between two racks.
- Shelf - a specific shelf.
- Cell - used only if the shelf is divided into subcells.
Only the “shelf” field is mandatory; the other fields can be skipped, creating an address structure that is convenient specifically for your warehouse.
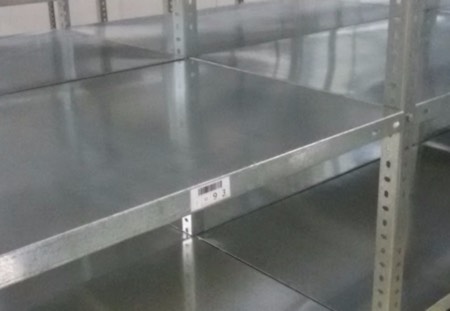
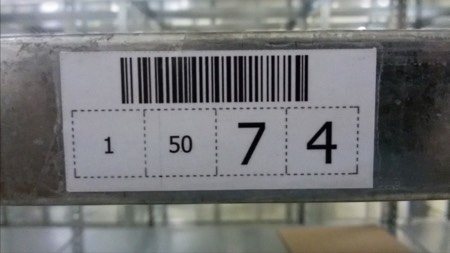
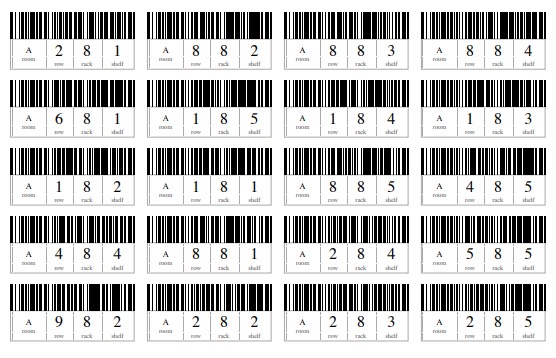
As a result, the label may look something like this:
This is:
Room #1
Row #50
Rack #7
Shelf #4
Creating storage locations
To create storage locations, go to:
Warehouse settings -> Storage locations
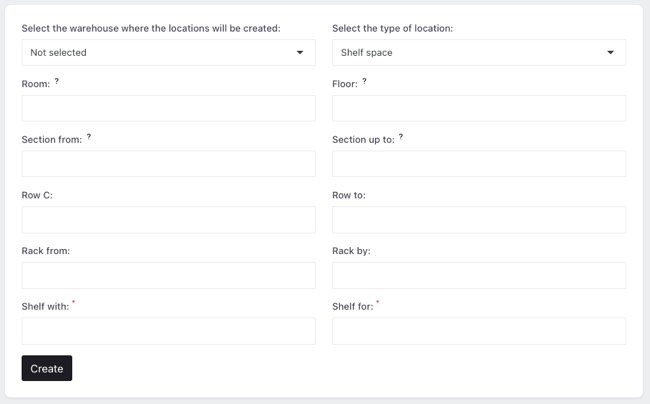
Next, select the warehouse, location type and range of fields you need:
For example:
- Shelf space
- Room: A
- Row: 1 to 15
- Rack: 1 to 10
- Shelf: 1 to 4
Will create 600 shelf spaces.
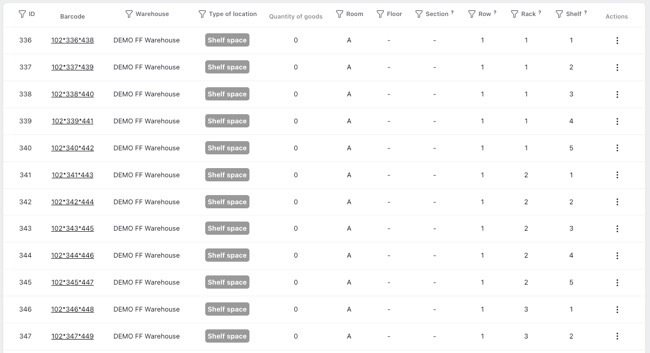
Which can then be printed by clicking the “Print locations” button.
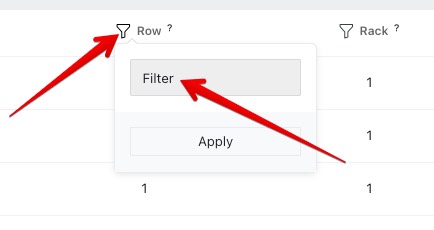
If you need specific locations from previously created ones, you can use the filter by any field:
Here, in addition to specifying specific numbers, you can use the following values:
- 3-8 - range from 3 to 8
- > - greater than. For example, >10 will display all values greater than 10
- < - less than. For example, <10 will display all values less than 10
- >= - greater than or equal. For example, >=10 will display all values greater than or equal to 10
- <= - less than or equal. For example, <=10 will display all values less than or equal to 10
Then you print the labels:
Next, the labels should be cut and marked on the shelves of your warehouse. You can use tape or glue for this.
At this point, the marking of storage areas can be considered complete.