To get started, simply register here: https://nwms.ru/#form. An account with the necessary initial settings will be created automatically.
Once the account is created, you can proceed directly to warehouse automation.
Below is a brief overview of the steps to be taken (sometimes referring to theory). Then we will consider each point in detail - already on the system interface.
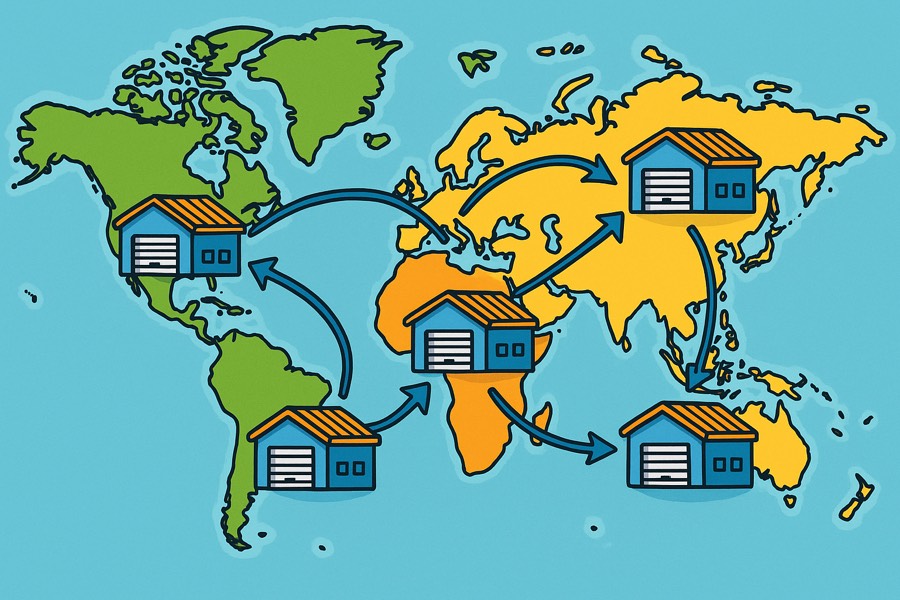
To work in WMS, you will need at least 2 warehouses and 1 store:
Briefly about the logic:
When creating an account, the basic infrastructure is formed automatically, so we will analyze these entities in more detail later - for now it is enough to know that they exist and play a key role.
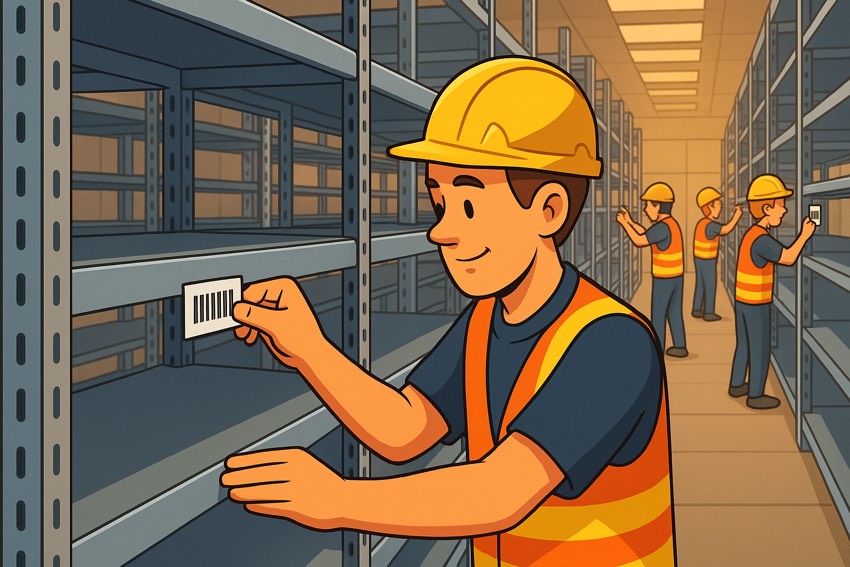
Important! After the goods have arrived at the warehouse, the only "hanging" moment is before acceptance. Then the goods always must be tied to a specific object: a shelf, a packing table or even a person.
To make this possible, the warehouse must be labeled: shelves, tables, sorting cells - everything must receive its own labels. This is the first and mandatory step, without which it will not be possible to launch the warehouse (for more details, see the articles "Placing goods on shelves" and "Warehouse labeling").
The warehouse is ready for acceptance, but "there is nothing to accept yet." You need to add or upload a list of products you will be working with. This can be done:
We will consider detailed methods below, now it is important to understand the very fact of the need for this operation.
At this stage, the warehouse begins full-fledged work: incoming documents are created, the actual quantity and condition of the products are recorded.
After acceptance, the goods are mandatorily assigned to specific cells. Until this binding is done, the system will not allow the goods to be used in shipments - remember this.
At this stage, you have a warehouse ready for work. Nothing complicated, right?